Regular oil changes are crucial for maintaining the health and longevity of your vehicle’s engine. While many car owners are familiar with the process of changing engine oil, the oil filter is an equally important component that often requires attention during routine maintenance. In this guide, we will walk you through the step-by-step process of changing your oil filter, ensuring that your engine continues to run smoothly.
Materials Needed:
1. New oil filter
2. Oil filter wrench
3. Oil drain pan
4. Oil filter drip tray or old newspaper
5. Gloves
6. Jack and jack stands or ramps (if necessary)
7. Funnel
8. Ratchet and socket set
9. Wrench
Step 1: Gather Your Materials
Before you begin, ensure you have all the necessary materials listed above. Make sure your vehicle is parked on a level surface and that the engine is cool to the touch.
Step 2: Lift the Vehicle (if necessary)
If your vehicle sits low to the ground, you may need to lift it using a jack and secure it with jack stands or drive it onto ramps. This provides better access to the oil filter.
Step 3: Locate the Oil Filter
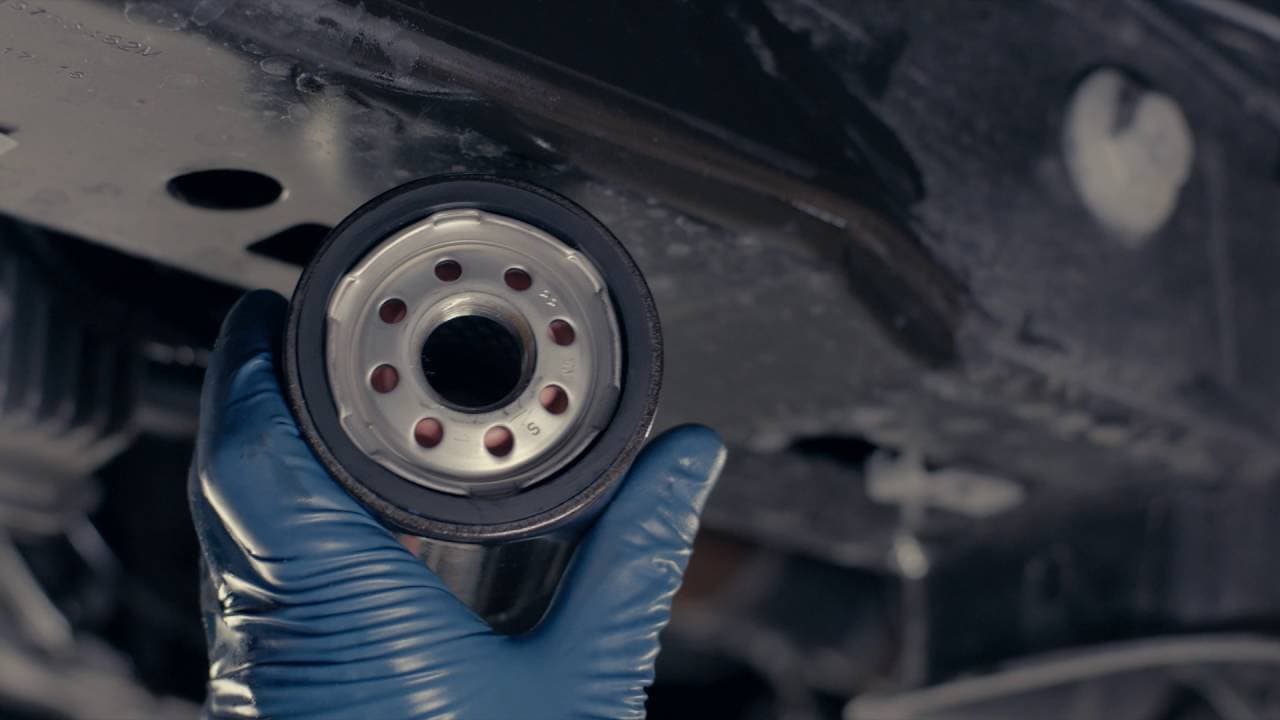
The oil filter is typically located near the bottom of the engine. Refer to your vehicle’s owner’s manual if you’re unsure of the exact location. The filter is a cylindrical or canister-shaped component with a metal or plastic housing.
Step 4: Drain the Engine Oil
Position the oil drain pan beneath the oil pan plug, usually located at the bottom of the engine. Use a wrench to carefully loosen the oil pan plug, allowing the old oil to drain into the pan. Once the oil has fully drained, re-tighten the oil pan plug.
Step 5: Remove the Old Oil Filter
Use an oil filter wrench to loosen and remove the old oil filter. Be prepared for some additional oil to drain from the filter. Use the oil filter drip tray or old newspaper to catch any spillage.
Step 6: Prepare the New Oil Filter
Before installing the new oil filter, apply a small amount of oil to the rubber gasket on the top of the filter. This helps create a proper seal and makes it easier to remove during the next oil change.
Step 7: Install the New Oil Filter
Screw the new oil filter onto the filter mount hand-tight. Once snug, use the oil filter wrench to give it an additional quarter-turn to ensure a secure fit.
Step 8: Add New Engine Oil
Using a funnel, pour the recommended amount and type of oil into the engine through the oil fill cap. Refer to your vehicle’s owner’s manual for the correct oil specifications.
Step 9: Check for Leaks
Start the engine and let it run for a few minutes. Check for any leaks around the oil filter and oil drain plug. If there are no leaks, turn off the engine and check the oil level using the dipstick.
Step 10: Dispose of Old Oil and Filter
Properly dispose of the used oil and filter at a recycling center or an automotive service facility that accepts used oil. Many auto parts stores also provide oil recycling services.
Conclusion:
Changing your oil filter is a relatively simple yet essential task in maintaining your vehicle’s engine health. By following these step-by-step instructions, you can ensure that your engine runs smoothly, prolonging its lifespan and preventing potential issues down the road. Regular oil and filter changes contribute to the overall well-being of your vehicle, promoting optimal performance and fuel efficiency.